Text Editor Screen
This chapter describes the functions of the text editor screen. The text editor screen is displayed by clicking the text editor button.
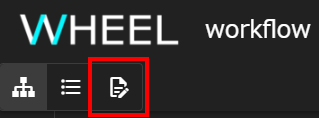
About Transitions to Text Editor Screens
Transitions to the text editor screen are limited by the selected state of the file or the selected state of the project.
If the transition cannot be made, the text editor button is displayed in a state that cannot be clicked.
The text editor screen has three modes:
- ormal mode
- PS-config mode
- jobScriptEditor mode
You can switch between these modes in the drop-down list at the top of the screen.
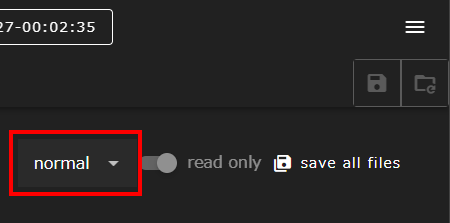
About Mode Switching
Some modes cannot be migrated depending on the component selected in the graph view screen before the transition to the text editor screen.
normal mode
This section describes the functions common to normal mode and all modes.
When a text editor screen is opened, it normally starts in normal mode. This mode is a tab editor that starts with the file selected on the graph view screen loaded into the first tab.

| Component | |
|---|---|
| 1 | File tab |
| 2 | New file open button |
| 3 | read only switch |
| 4 | save all files button |
File tab
Displays the file name of the opened file. The currently displayed tab is shown in blue. When you click a file name on the Files tab, two menus appear: save or close without save.

Click save to save your edits. However, the project itself is not saved in this state, so clicking the revert project button at the top of the screen discards the edits.
Click close without save to discard your edits and close the tab.
New File Open Button
Click the New File Open (+) button to open a window for creating a new file.

Enter a valid file name and click the open button to create a blank file that is tabbed. Add the contents of the file and save it.
read only switch
When the read only switch is enabled, the displayed text is read-only and cannot be changed.
Use this function to check the contents of a text file.
save all files button
Click the save all files button to save all currently open tabs as well as all parameter study settings currently configured in the PS-config mode described below.
As with the save menu on the Files tab, in this state you have not yet committed to the git repository, so clicking the revert project button at the top of the screen discards your edits.
PS-config mode
This section describes the features of PS-config mode.
The parameter study function itself is described in PS Components.
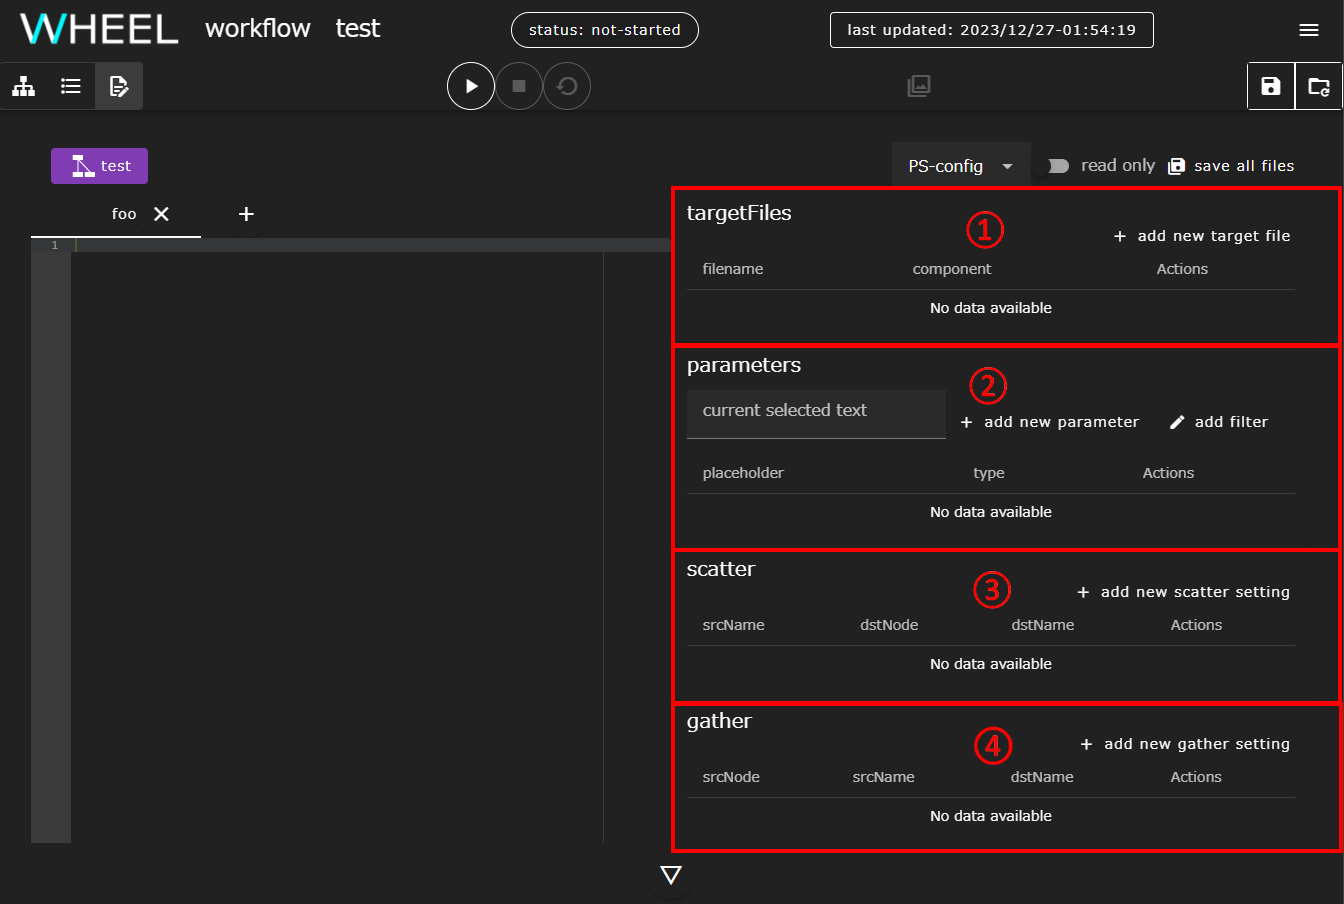
| Component | Description | |
|---|---|---|
| 1 | targetFiles input area | Sets the file from which to overwrite content with parameter values when running a parameter study |
| 2 | parameters input area | Defines the parameter space used when running a parameter study |
| 3 | scatter settings input area | Configure the files that will be distributed to each subcomponent separately before running the parameter study |
| 4 | gather settings input area | Set the files to be collected from each sub-component after completing the parameter study |
jobScriptEditor mode
This section describes the features of jobScriptEditor mode.
The jobScriptEditor mode provides the ability to interactively generate and edit option lines for the text file being edited that appear at the beginning of the job script to be submitted to the batch system.
Immediately after startup, the HPC center drop-down list appears in the right area of the same tab editor as in normal mode.
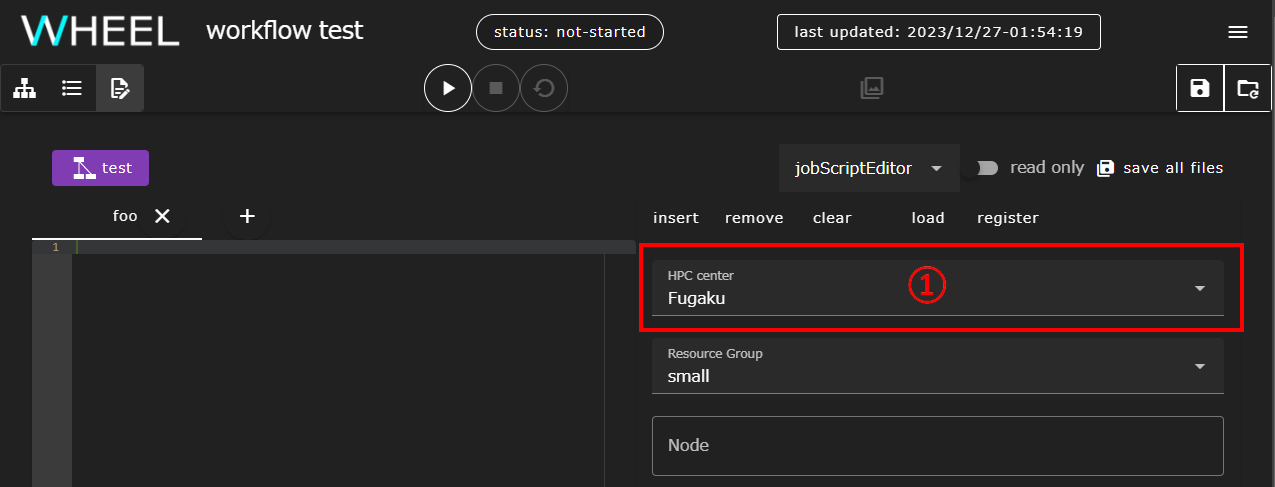
| Component | Description | |
|---|---|---|
| 1 | HPC center drop-down list | Select the supercomputer on which to submit the job |
From the HPC center drop-down list, select the system on which you want to submit the job, and a form is displayed to fill in the options for that batch system.
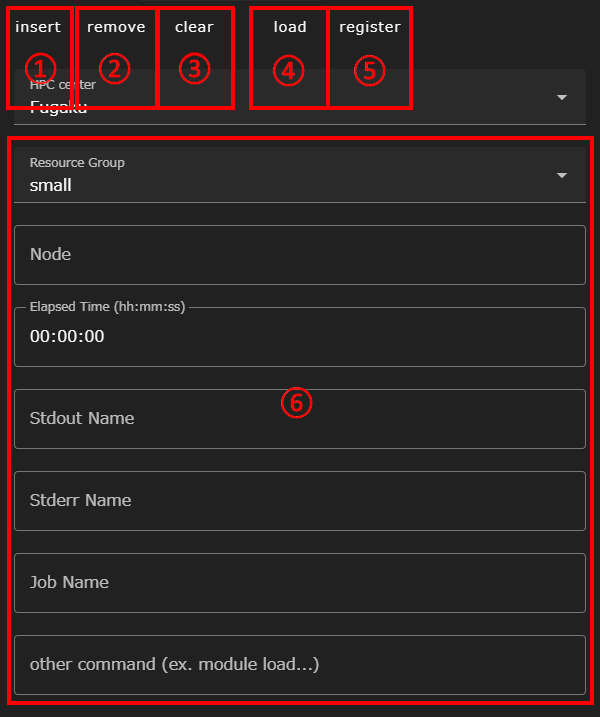
| Component | |
|---|---|
| 1 | insert button |
| 2 | remove button |
| 3 | clear button |
| 4 | load button |
| 5 | register button |
| 6 | Option input form |
insert button
Click the insert button to insert the option values from the option input form into the beginning of the file that is open in the tab editor, in a format suitable for job scripts.
Also, if an option value has already been inserted into a file that is open on the tab editor side, the insert button’s label display switches to update. If you click the update button, the current settings will replace what you have already entered.
remove button
Click the remove button to remove text inserted with the insert button.
clear button
Click the clear button to reset the contents of the option input form to the default values. At this time, the contents already inserted in the file on the tab editor side remain.
load button
Click the load button to load the option settings saved with the register button into the option input form.
register button
Click the register button to name and save the settings entered in the option input form. You can easily enter the same settings in multiple scripts by loading the saved content with the load button.
The settings you enter with the register button are stored in a different location than the project file, so you can recall settings you used in other projects.
About saving settings
The settings saved with the register button are saved in jobScriptTemplate.json under CONFIG_DIR.
CONFIG_DIR is specified at the start of WHEEL, so please check the How to start for details.
To delete saved content, click the trash can icon at the far right of the list that appears when you click the load button.
About Input Values in the Options Input Form
The input values are not validated in the form in jobScriptEditor mode.
For example, a job script is generated even if you set an option in a format different from the one you can specify, or if you enter an option that requests more resources than are allowed.
Therefore, check the documentation of the system to be used by the user himself, and input the valid setting value.